Introduction
The Dell CT109 cable is a unique piece of hardware often required for specific legacy systems. If you’ve ever wondered how to make a Dell CT109 serial to PS2 cable, this guide will walk you through the process. With the right tools, materials, and understanding, creating this cable is simpler than you might think. Whether you’re a tech enthusiast or need this cable for a specific purpose, follow along to craft your custom solution.
Tools and Materials Needed
Before beginning, gather the necessary tools and materials to make your Dell CT109 serial to PS2 cable. Here’s what you’ll need:
Tools:
- Soldering iron and solder
- Wire stripper
- Multimeter (for testing connections)
- Heat shrink tubing or electrical tape
- Small screwdriver
Materials:
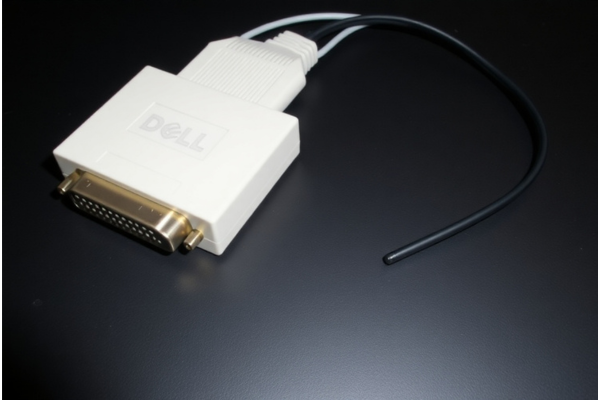
- Dell CT109 serial connector (DB9 male or female, depending on your requirements)
- PS2 connector (Mini-DIN 6-pin)
- Wires (preferably color-coded for easy identification)
- Cable shielding (optional for durability and protection)
Step-by-Step Guide
Step 1: Understand the Pinout Diagram
To successfully create the cable, you must understand the pinout diagram for both the serial and PS2 connectors. Below are the standard pinouts:
DB9 Serial Connector Pinout:
- Carrier Detect (DCD)
- Receive Data (RxD)
- Transmit Data (TxD)
- Data Terminal Ready (DTR)
- Signal Ground (GND)
- Data Set Ready (DSR)
- Request to Send (RTS)
- Clear to Send (CTS)
- Ring Indicator (RI)
PS2 Connector Pinout:
- Data
- Reserved
- Ground
- VCC (5V)
- Clock
- Reserved
Map the serial connector pins to the corresponding PS2 pins based on the device’s requirements.
Step 2: Cut and Strip the Wires
Cut the wires to the required length, leaving a bit of extra slack for error. Use a wire stripper to expose the ends of each wire, ensuring they’re ready for soldering.
Step 3: Solder Connections
Carefully solder the wires to the corresponding pins on both the DB9 serial and PS2 connectors. Follow the pinout mapping identified earlier. Use a soldering iron to ensure secure and reliable connections.
Step 4: Insulate the Connections
Once the connections are soldered, use heat shrink tubing or electrical tape to insulate the exposed wires. This prevents short circuits and ensures durability.
Step 5: Assemble the Connectors
Secure the connectors by assembling their housings. Ensure that the wires are firmly held in place and not strained.
Step 6: Test the Cable
Use a multimeter to verify the continuity of each connection. Ensure that there are no short circuits and that all pins are correctly wired.
Step 7: Add Final Touches
For added durability, consider wrapping the cable in shielding or a protective sleeve. This step is optional but recommended for long-term use.
Frequently Asked Question
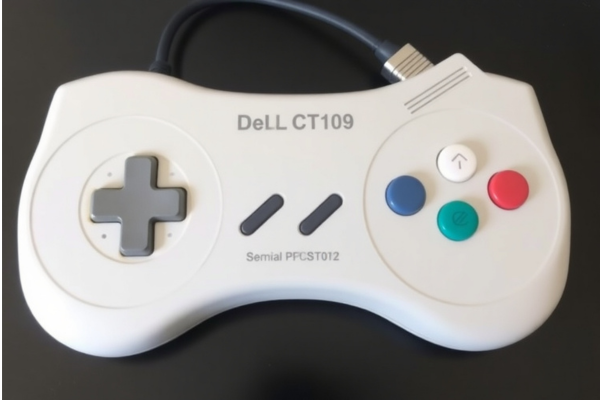
What is a Dell CT109 serial to PS2 cable used for?
This cable is commonly used to connect legacy Dell hardware that requires a serial-to-PS2 interface for keyboards, mice, or other peripherals.
Can I use this cable with modern devices?
While it’s technically possible, most modern devices do not support serial or PS2 connections, making this cable primarily useful for older systems.
What if I solder the wrong pins?
If you accidentally solder the wrong pins, desolder the incorrect connections, and re-solder them correctly. Use a multimeter to verify accuracy before finalizing the cable.
Are there pre-made alternatives available?
Yes, pre-made Dell CT109 serial to PS2 cables can be purchased online, but making your own can be a cost-effective and educational alternative.
Is soldering experience necessary?
While not strictly necessary, some soldering experience is beneficial. If you’re new to soldering, practice on spare wires before attempting this project.
Conclusion
Creating a Dell CT109 serial to PS2 cable can seem daunting, but with the right tools, knowledge, and patience, it’s entirely achievable. By following this guide, you’ll have a functional custom cable suited to your needs. Whether for personal projects or professional applications, this process is a valuable skill for any tech enthusiast.